|
It is impossible to measure exactly the value of any continuous variable. Exact values are only possible when counting, such as 311 people or 312 people. Counts are integers whereas continuous variables can have an infinite number of values. The word error is sometimes used to describe the fact that all real measurements are uncertain. In this context error does not mean mistake! The “error” in measurement is the difference between the measurement and the unknown “true value” of the quantity being measured. 
|
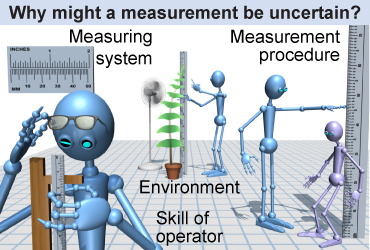
 The uncertainty in any macroscopic measurement is affected by many factors, including the limited precision of instruments. When using a meter stick, it is not possible to distinguish between 50.0 mm and 50.1 mm because the smallest gradation on the meter stick is 1 mm. Even an accurate measurement is uncertain to ±0.5 mm. Accuracy can also be affected by the environment—such as wind, humidity, or temperature—as well as the skill of the operator and the procedure for measuring. The uncertainty in microscopic measurements can result from fundamental quantum effects.
|

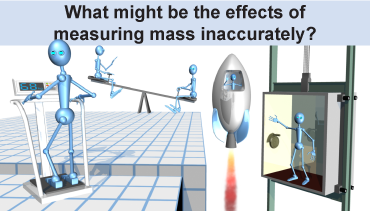
| The effects of uncertainty depend on how a measurement is used. A GPS receiver determines position to within ±10 m. This precision is sufficient for navigational directions because roads and intersections are larger than 10 m, but it might be disastrous for steering a car because the width of a lane is smaller than 10 m. As another example, measuring a mass inaccurately can have serious consequences when calculating the load of an elevator or the payload for a rocket. |

|
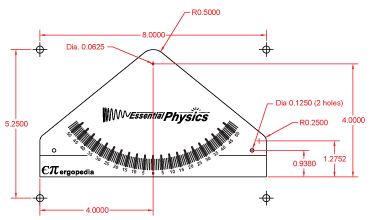
 In engineering design, defining the allowable uncertainties in dimensions or physical properties is often vital to ensuring that a product works. The tolerance gives the range of values that are either acceptable or known. In English units a dimension of 1.00 in is assumed to have a tolerance of ±0.010 in, whereas a dimension of 1.000 in is assumed to have a tolerance of ±0.005 in. Engineers select manufacturing processes with uncertainties that can meet or exceed the required tolerances. The “tighter” the tolerances, the more expensive it is to manufacture a part.
 |
Measurement uncertainty is often referred to as random error. Why random? If you repeat a measurement with a ruler many times, the value you measure might vary up and down a little bit each time, depending on exactly how you line up the ruler. But what happens if your ruler is manufactured poorly, such that every marking for a millimeter is actually spaced 2 mm apart? No matter how many times you repeat the measurement, you will get the wrong answer by a factor of 2! This is an example of systematic error, where the measurement is repeatedly different (in some direction) from the true value. 
|
| |
|

